How to sign in to Nimbra Console #
Get an account #
You cannot sign up for Nimbra Console yourself. You get access in one of two ways:
- Net Insight creates your account. You receive an email titled “Your Nimbra Console account is ready”. Select Set your password, choose a password of at least 8 characters, and select Set password.
- An administrator in your organization invites you. You receive an email titled “Invitation to organization in Nimbra Console”. Select Accept invitation, choose a password, and select Create account and accept.
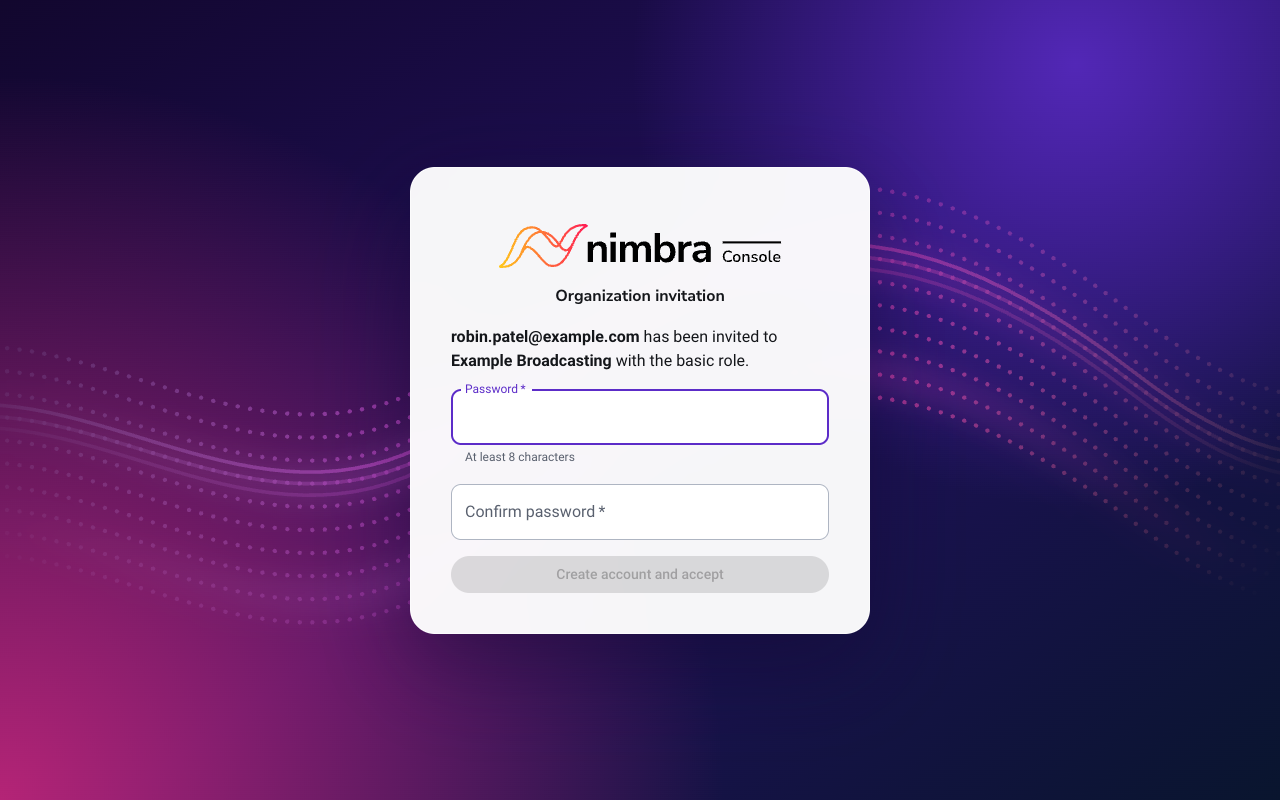
If a link no longer works, ask the sender for a new one.
If you already have a Nimbra Console account and are invited to another organization, sign in with your existing account and select Accept invitation.
Sign in #
- Go to console.nimbra.io.
- Enter your email address in Username, enter your password, and select Sign In.
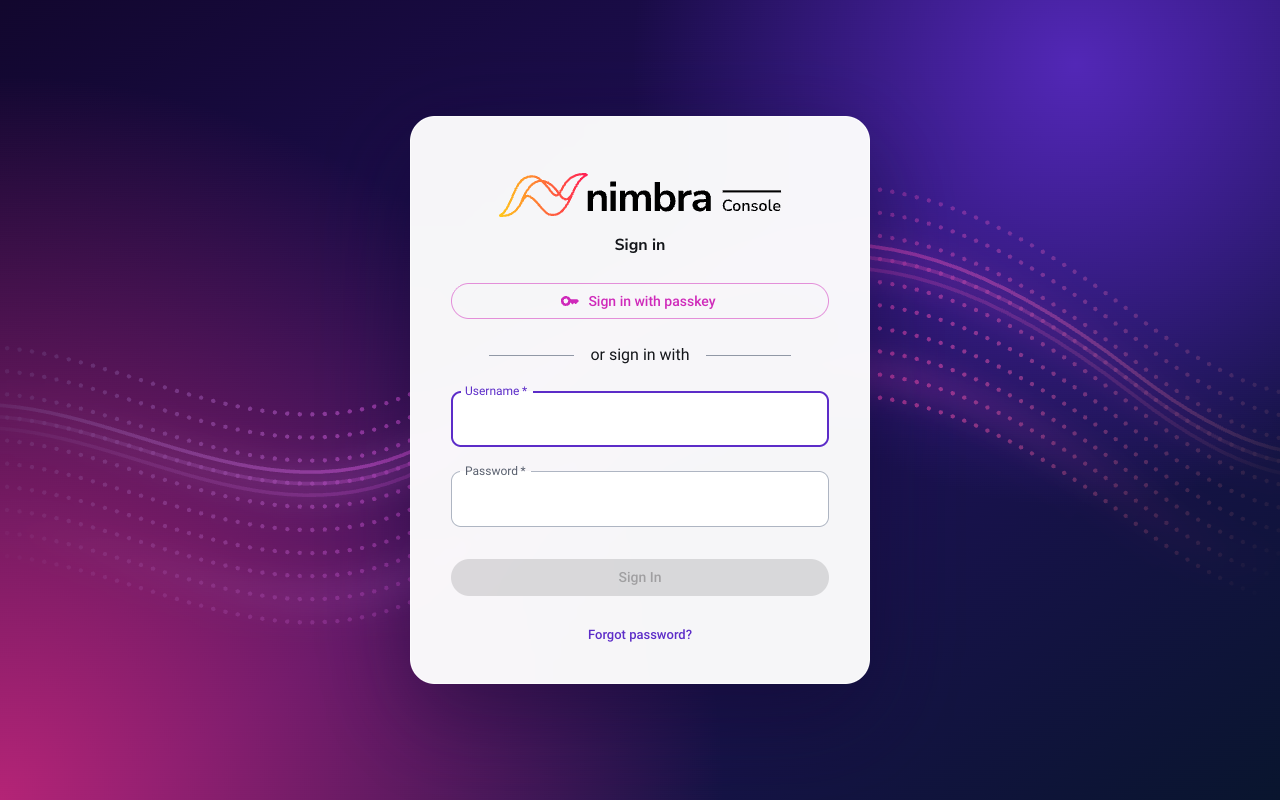
Sign in with a passkey #
A passkey lets you sign in with your fingerprint, face, screen lock or security key instead of a password.
- Sign in with your password. The first time, Nimbra Console asks if you want to set up a passkey.
- Enter a name for the passkey and select Set up passkey. Follow the steps that your browser shows.
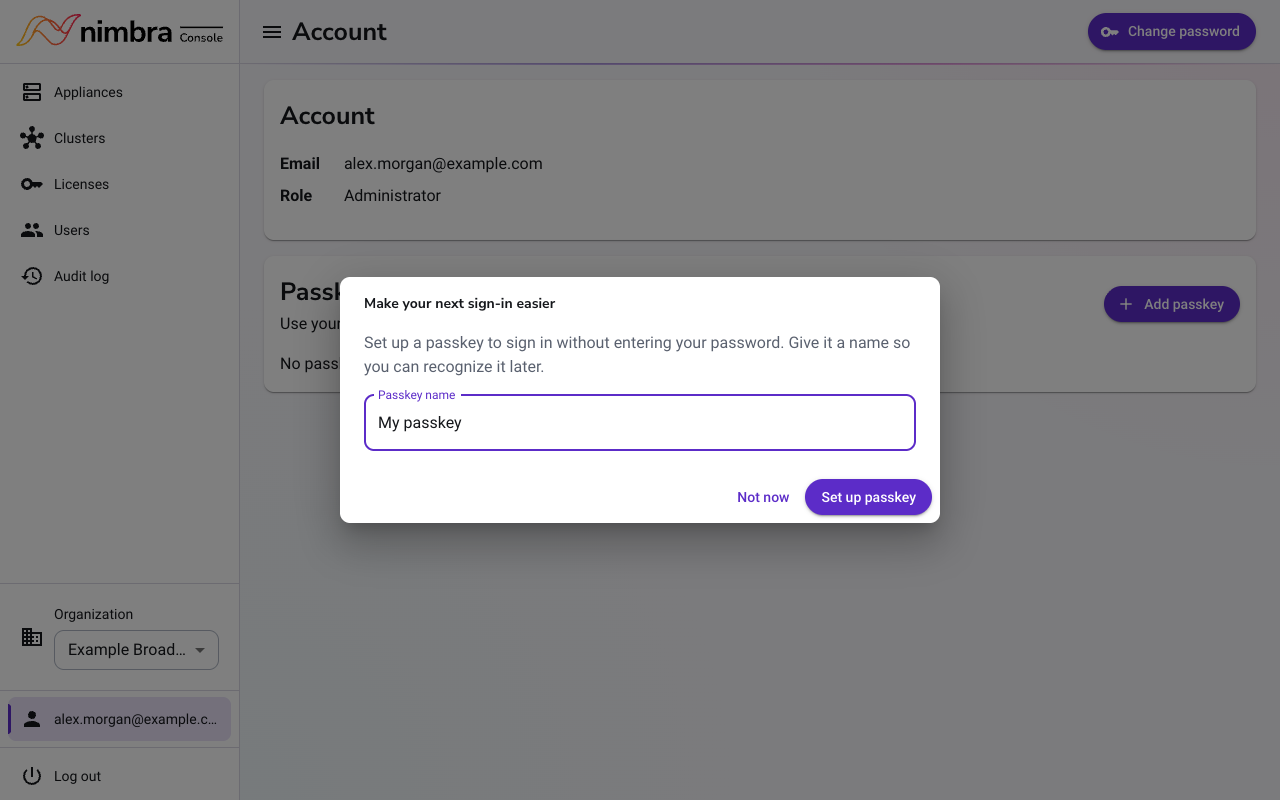
Next time, select Sign in with passkey on the sign-in page. You can add, rename and remove passkeys later on the Account page, which you open from your email address at the bottom of the menu.
Reset a forgotten password #
- On the sign-in page, select Forgot password?.
- Enter your email address and select Send reset link.
- Open the email titled “Reset your Nimbra Console password” and select the link.
- Choose a new password and select Set password.
Resetting your password signs you out everywhere else.
Switch organization #
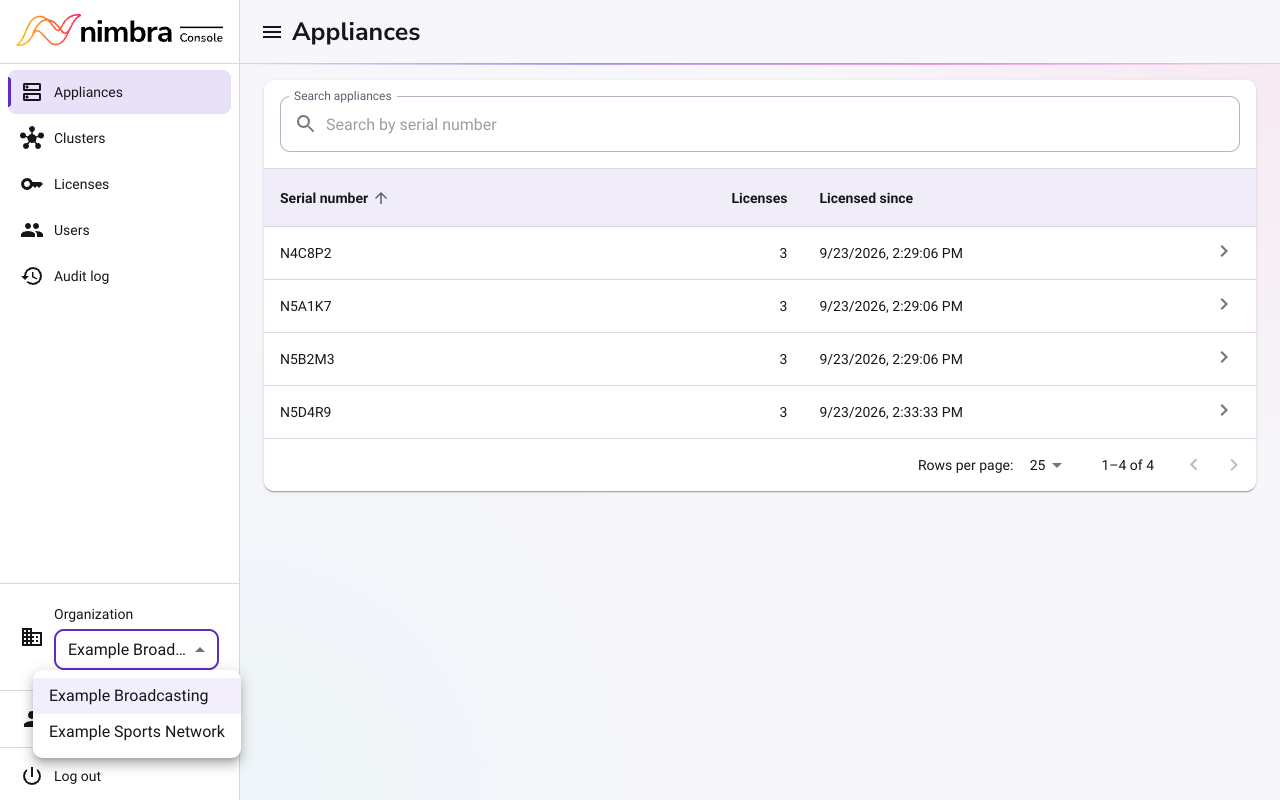
If you belong to more than one organization, select the organization at the bottom of the menu and choose another one. The pages then show the appliances, clusters, licenses and users of that organization.