1. Deploy Nimbra Edge #
Deploy the server that will run Nimbra Edge and its Network Manager web interface.
Launch the stack #
OCI uses a stack to create and manage the resources for your installation as a group, including the server, storage, and networking.
-
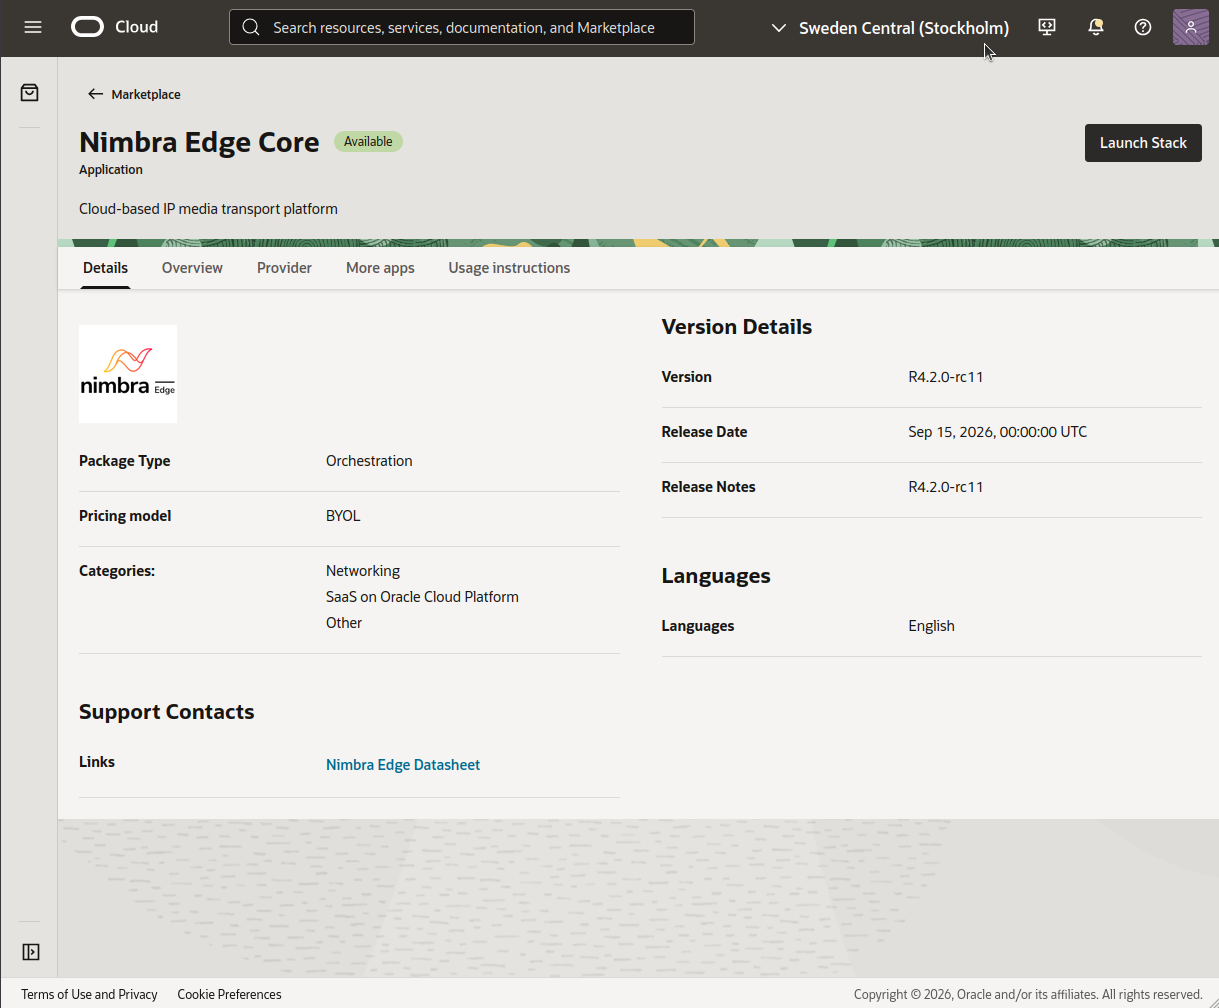
Open Nimbra Edge Core in OCI Marketplace and click Launch Stack.
-
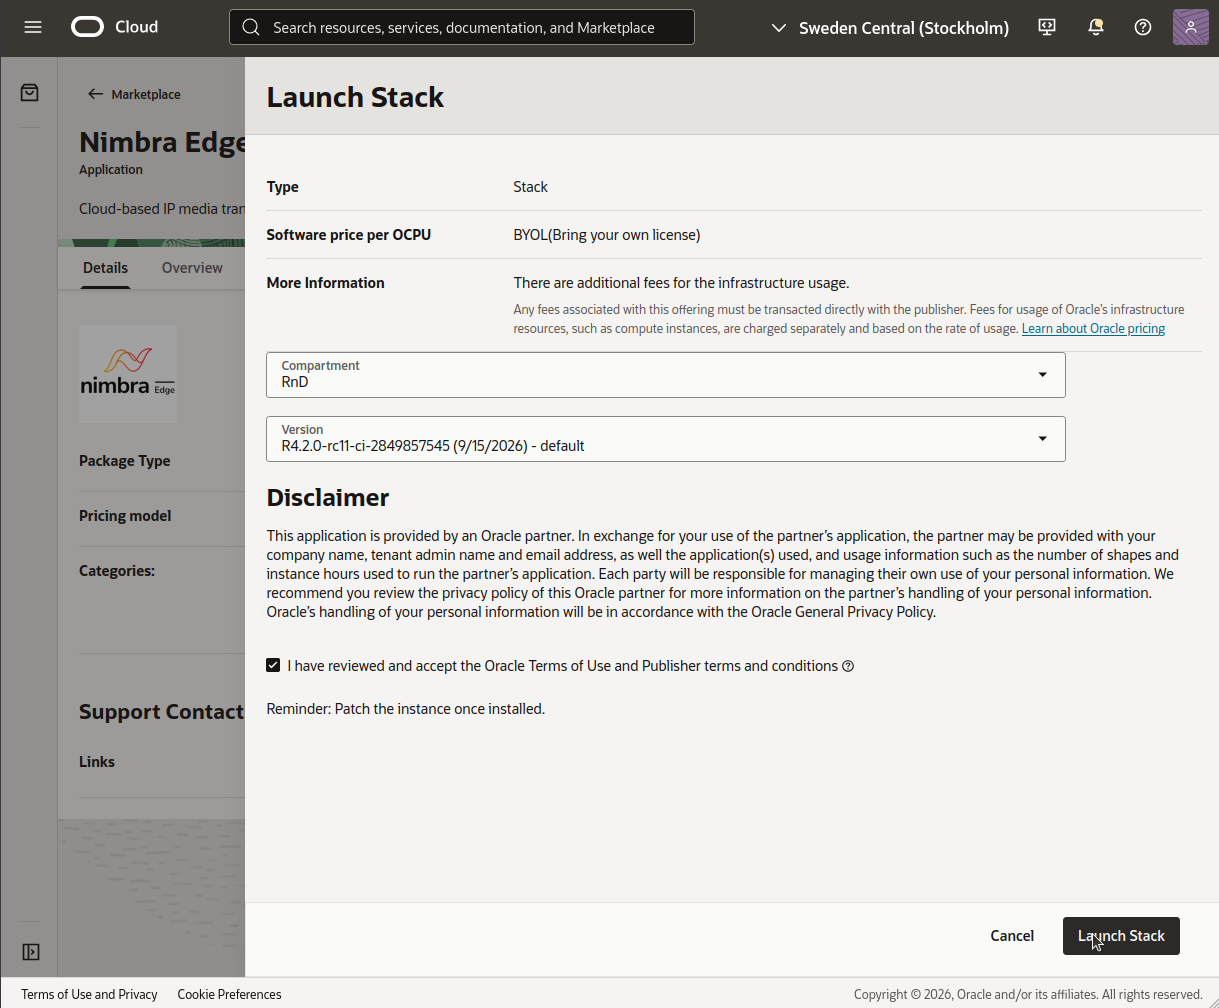
Select the compartment and software version, accept the terms, and click Launch Stack. A compartment is a folder-like grouping of resources in your OCI account; this one holds the stack itself. Choose the one you use for this installation.
-
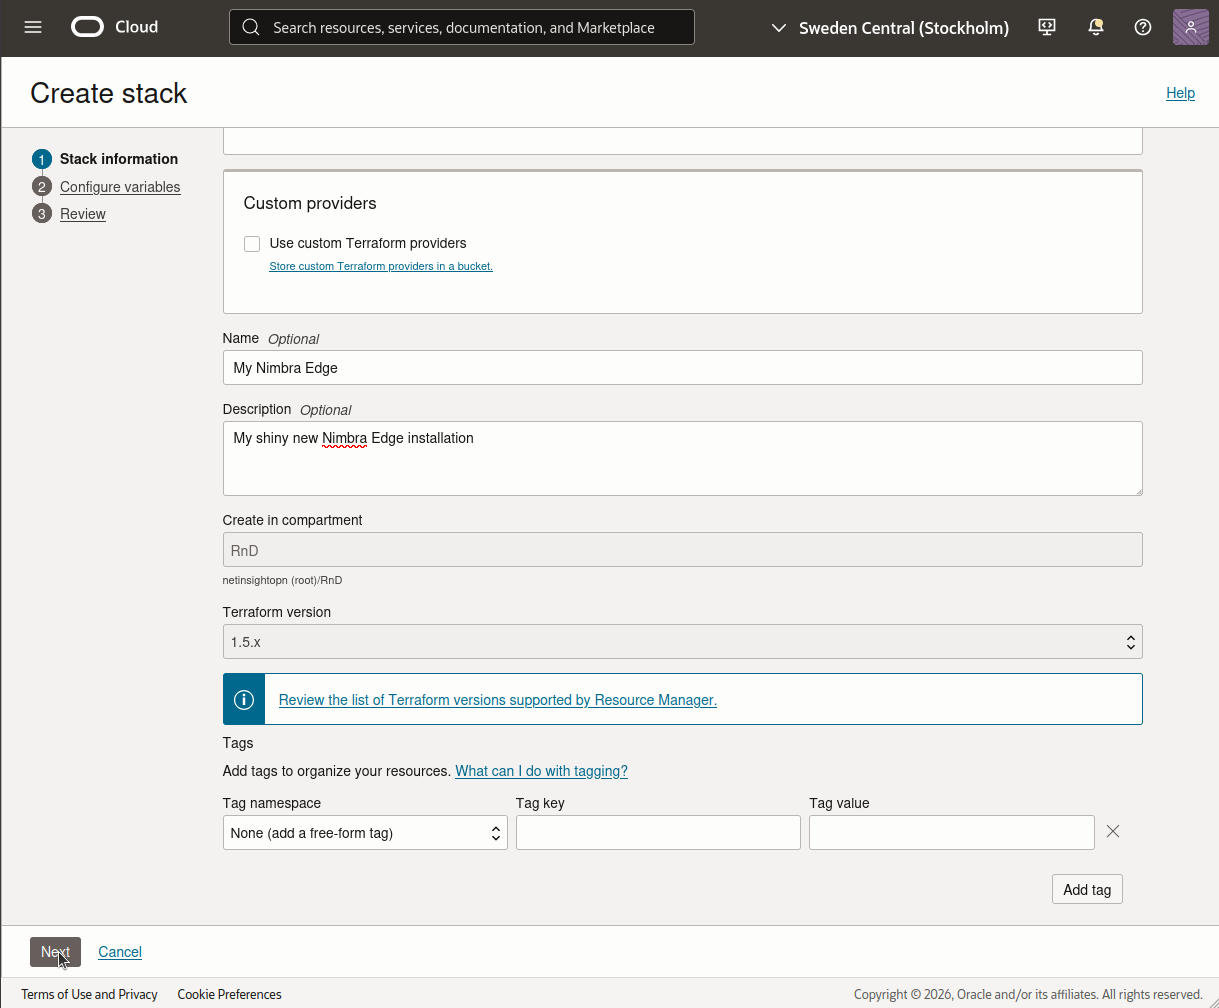
Give the stack a recognizable name and click Next.
-
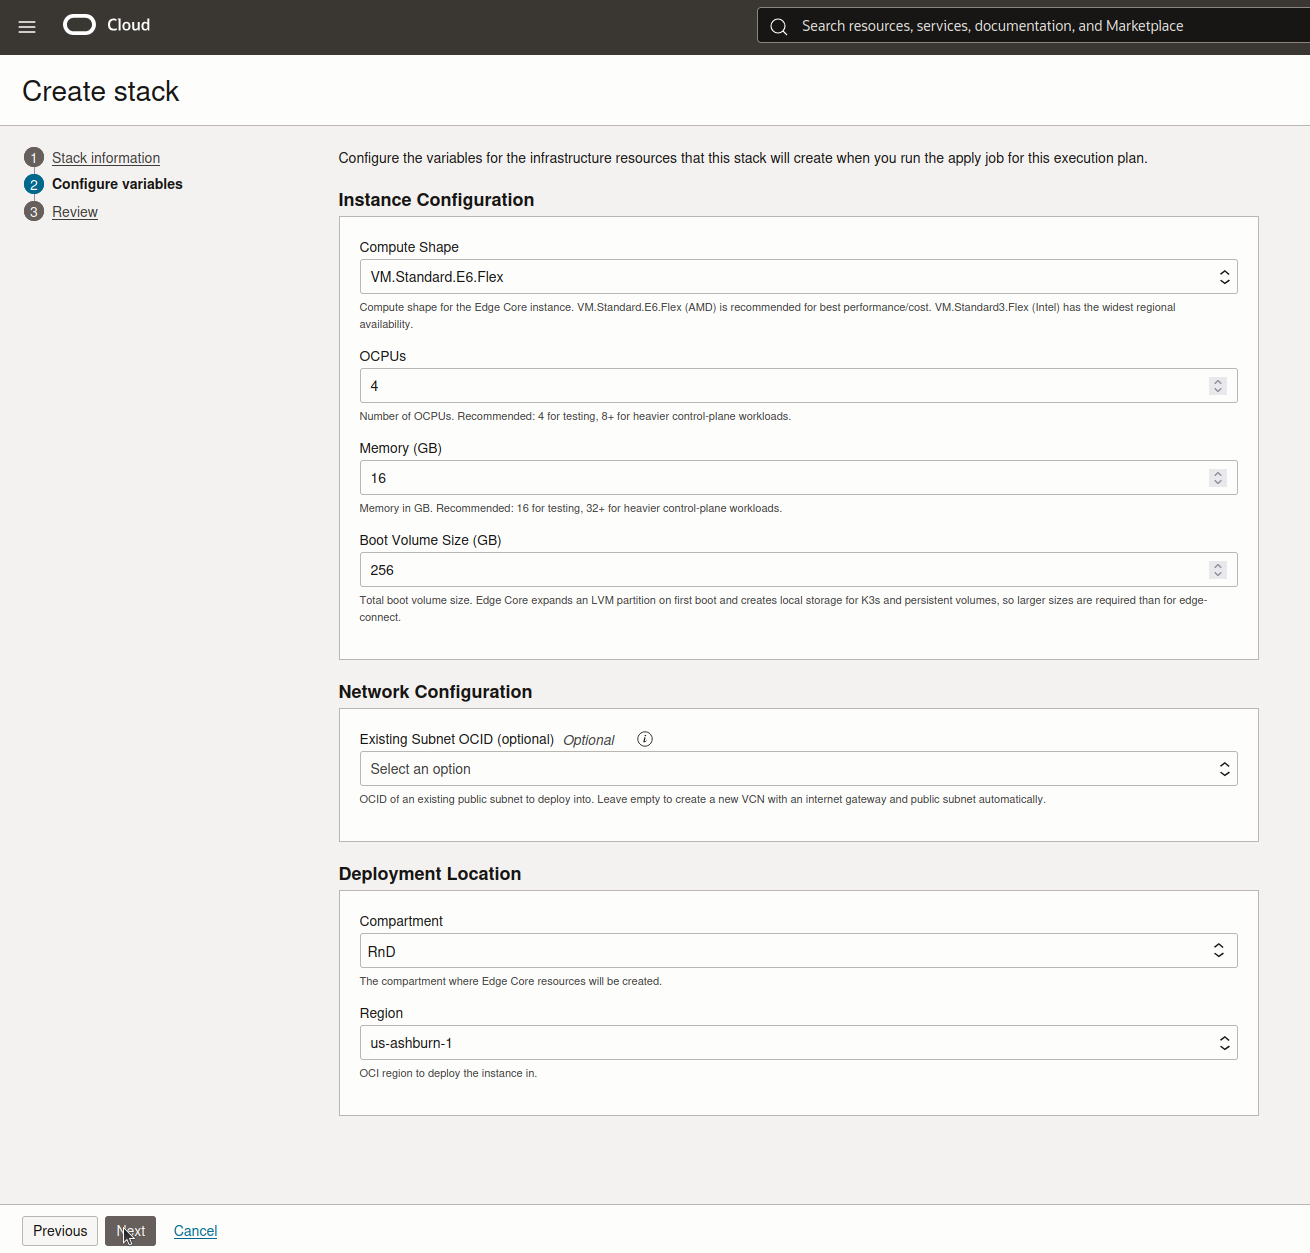
Choose an available compute shape (the server type). Keep the default CPU, memory, and boot volume settings. Leave Existing Subnet OCID empty to create networking automatically. Under Deployment Location, the compartment is where the server and networking are created. It is prefilled with the stack’s compartment; keep it unless you want them elsewhere. Choose the deployment region, then click Next.
-
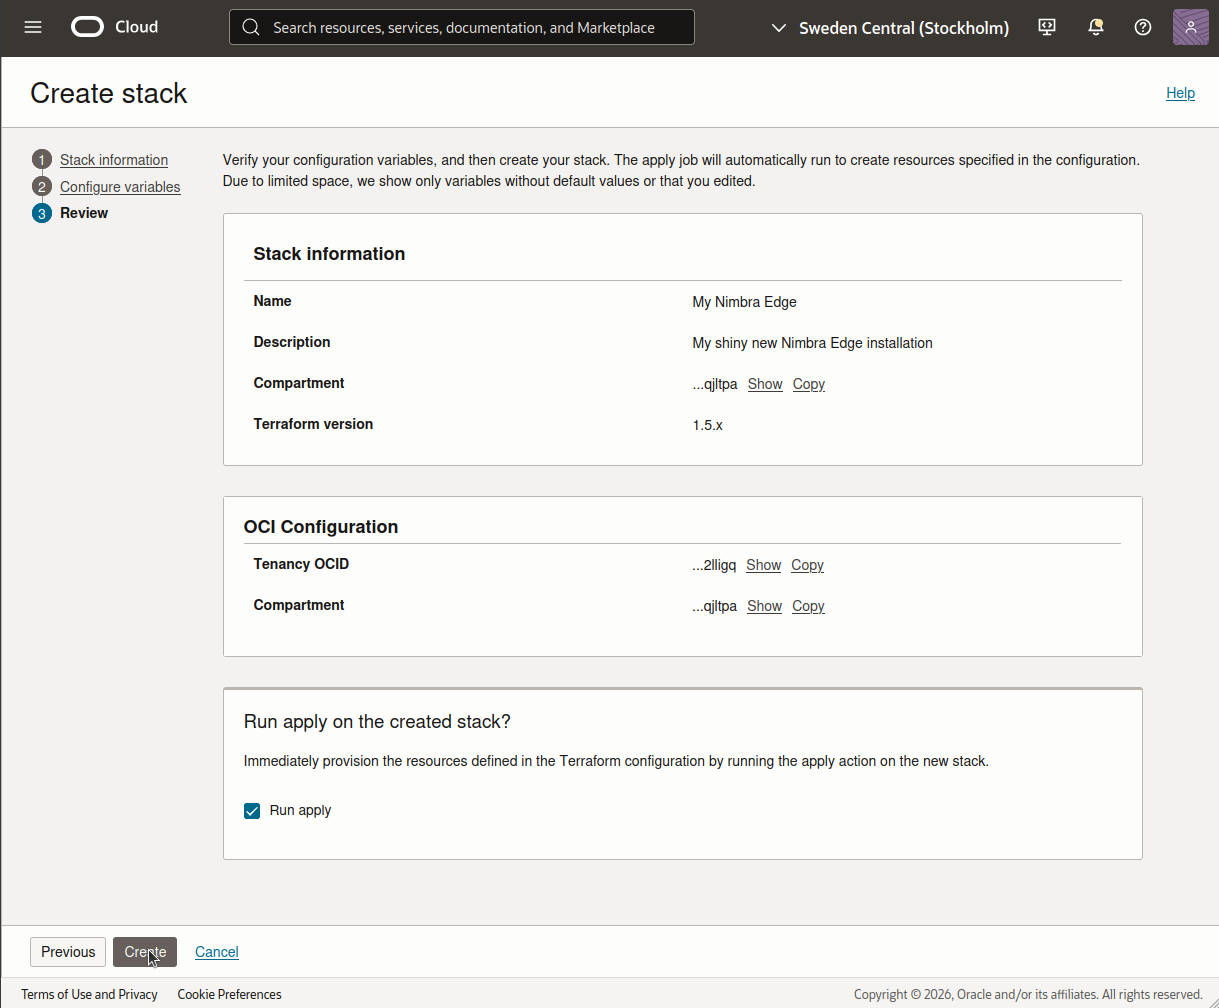
Review the settings, leave Run apply checked, and click Create. The apply job creates your cloud resources. Wait for it to show Succeeded.
Open the setup interface #
Your server is now created. Next, open its appliance setup interface to configure Nimbra Edge. The stack’s Application Information tab lists the addresses and initial login details you need.
- Open the stack and select Application Information.
- Follow the Web Interface URL link. First boot may take a few more minutes.
- The initial certificate is self-signed. Check that the address matches the one listed, then accept the browser warning.
- Sign in as
adminwith Initial Password, which has a Copy button. Change this appliance password after first login.
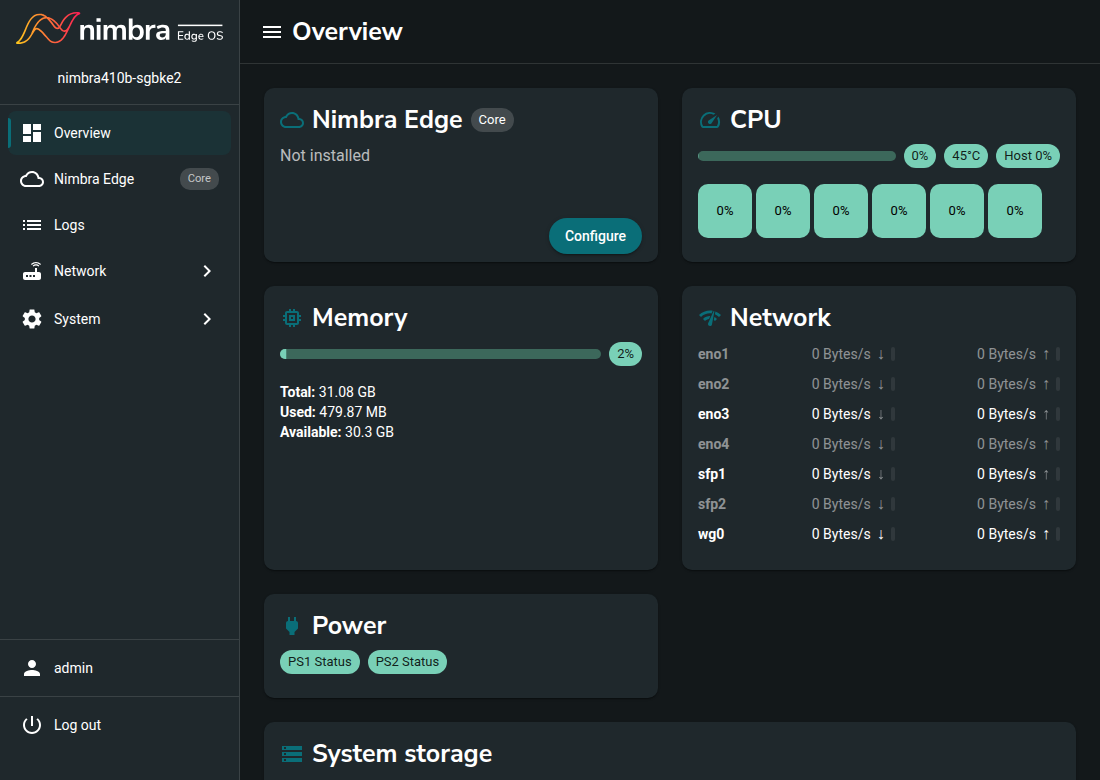
After signing in, the Overview page shows Nimbra Edge as Not installed. Click Configure to open the installation form used in the next step.