2. Install Nimbra Edge #
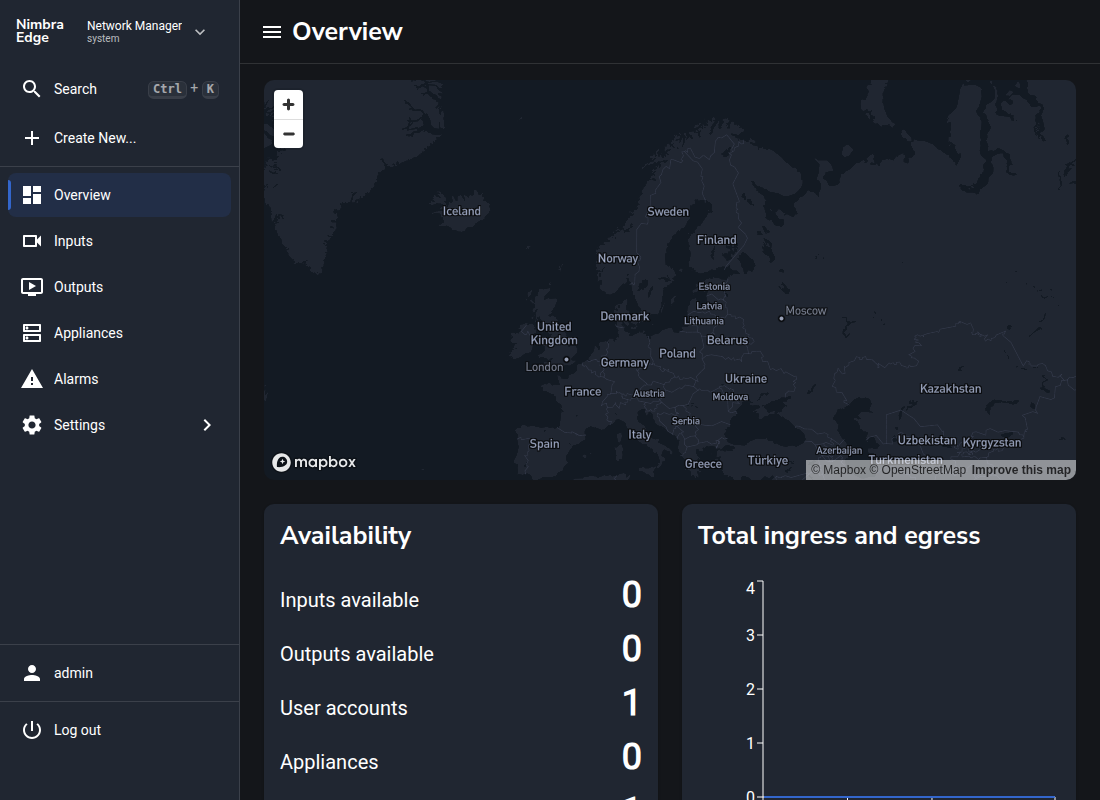
The server is ready. Now configure your installation and sign in to Network Manager.
Configure DNS #
Choose the hostname you want to use for Network Manager. You will connect it to your new server through DNS, then enter your license and create the administrator account. Automatic TLS gives your hostname a trusted HTTPS certificate.
Create a DNS A record for your hostname, such as my.nimbra.edge, pointing to Nimbra Edge Endpoint IP from the stack’s Application Information tab. This is a different IP from the appliance setup interface. Wait until public DNS resolves to it. Keep TCP ports 80 and 443 reachable from the internet for automatic TLS. The automatically created network allows both.
Configure Nimbra Edge #
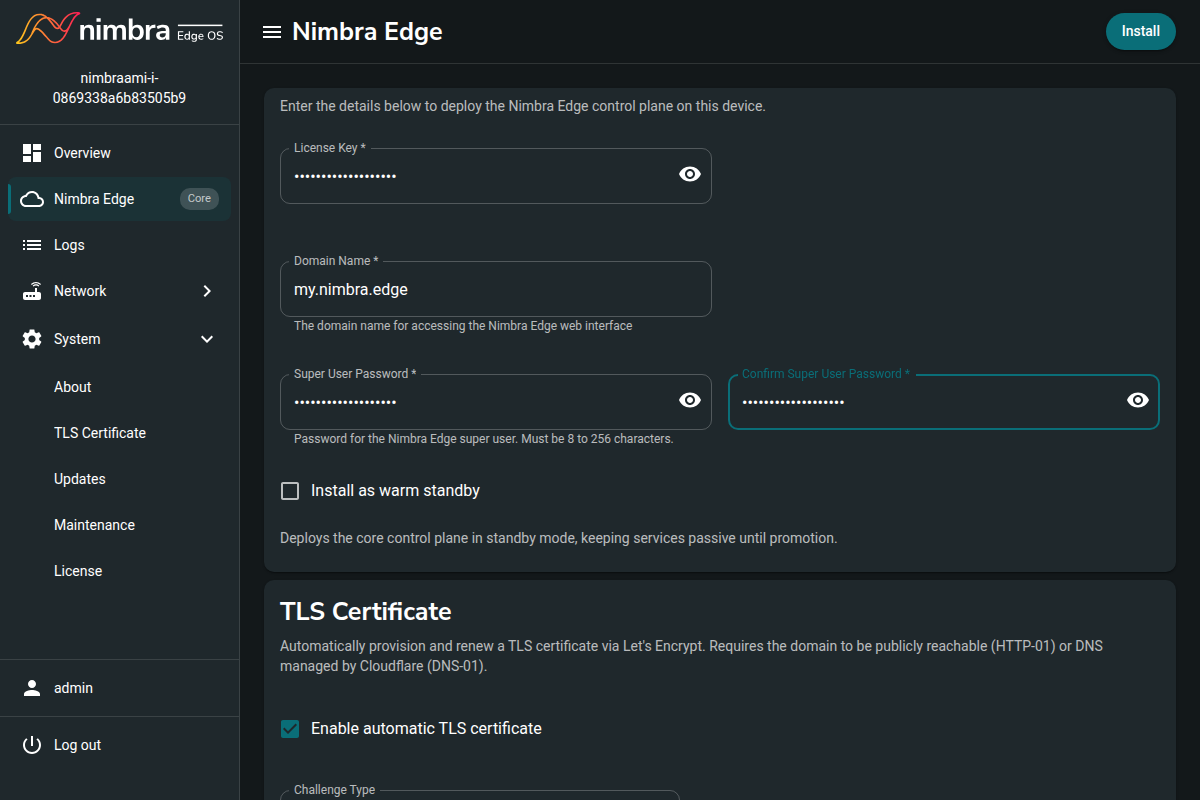
In the appliance setup interface:
- Enter your License Key and Domain Name, for example
my.nimbra.edge. - Choose and confirm a Super User Password for Network Manager’s
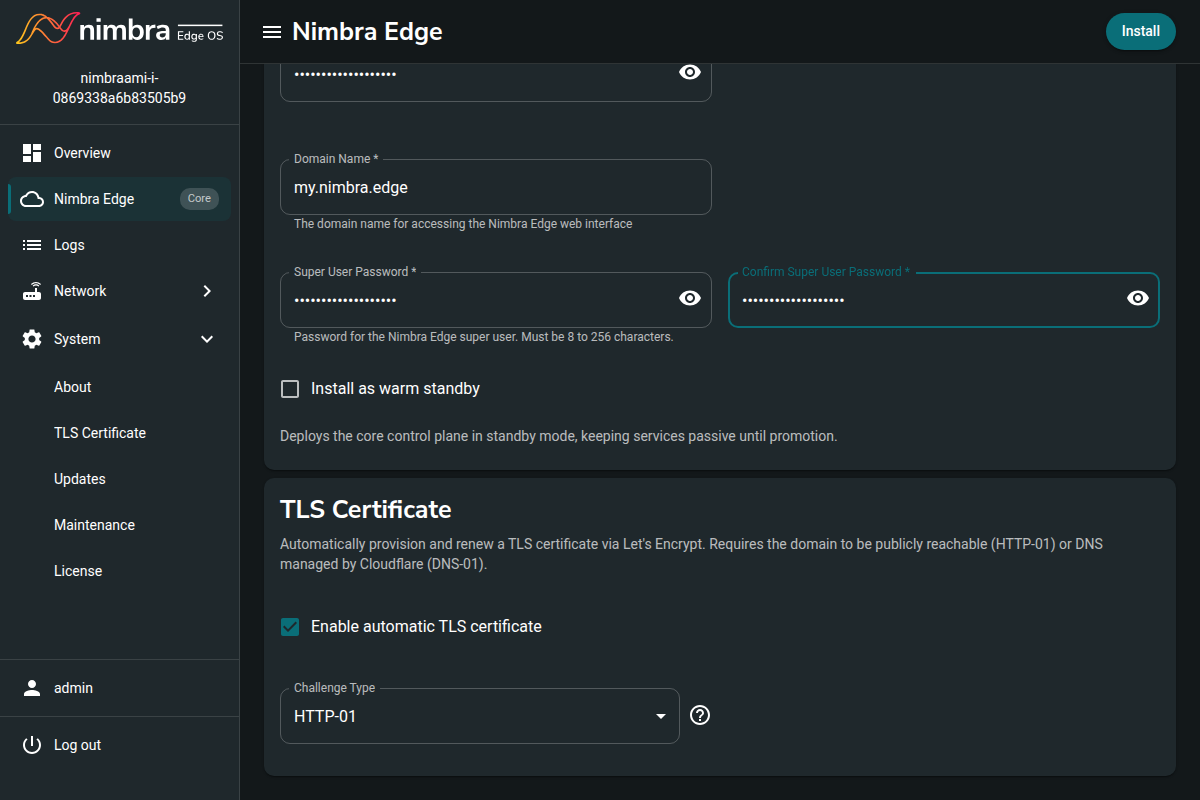
adminaccount. This is separate from the appliance password you used to sign in. - Select Enable automatic TLS certificate and HTTP-01.
- Click Install and wait for installation to complete.
The Open Nimbra Edge button will open the UI of your newly installed Nimbra Edge system. Sign in as admin with the Super User Password you just chose.
It can take a little while for the TLS certificate to be installed